Expert Tips for Basic Baby Chick Care
You've decided you're going to start raising chickens.
You've done your research into how many chickens you are allowed in your area, you've chosen the breeds you want to raise, maybe even placed your order for baby chicks due in the spring or checked with your local feed store about when baby chicks will be available.
Now what?
Expert Tips for Basic Baby Chick Care
It's important to learn all you need to know about raising baby chicks well before you bring that first peeping ball of fluff home. Baby chicks can be fragile, and they need heat and constant feed and water.
In more than 15 years of raising chickens, and my fair share of baby chicks, both those chicks that I have hatched and those I bought as day-old chicks, I have learned a few things about keeping them healthy (and happy!) and best prepared to grow into adult chickens.
First you'll need to assemble some supplies so your new baby chicks have everything they need as soon as they arrive. Your local feed store should carry everything, or you can find these things online using the links below.
Baby Chick Checklist
Here's what you will need to have on hand before your chicks arrive:
- Brooder box | either homemade or store bought
- Heat Lamp with Two Red Bulbs or Brinsea Eco-Glow
- Chick Starter Feed (I recommend NON-medicated)
- Chick-sized Feeder
- Rubber Shelf Liner/Newspaper
- Pine Shavings or hemp bedding
- Plain Pedialyte or Sav-a-Chick
It's important to remember that your baby chicks are just that - babies. They need to be kept warm, dry, safe and well fed for the next six to eight weeks before they're old enough to live outside.
Before they grow in their first feathers, they can't regulate their body temperature and without a mother hen to keep them warm, that becomes your job.
The Chick Brooding Area
The first thing you will need to do is set up a brooder box. This is where your baby chicks will live for the first few weeks until they can go outside.
The brooder can be set up in a laundry room or mudroom, spare bathroom or the garage. Any place that's out of the way but easy to access makes a good location for your brooder.
You can buy a brooder setup kit, or if you're handy, you can build one using these plans, but it's easy enough to make one using a cardboard box or plastic tote.
I made mine out of a clear plastic storage bin (available at Lowes, Walmart, Home Depot etc.) Just buy the largest one you can find.
If you will be getting more than 5-6 chicks, you might want to make two and join them together via a "chunnel" in between them. Just cut a small hole in the side of each tote so your chicks can move back and forth between them and have more room as they get bigger.
I prefer the clear or opaque totes so you can see your chicks through the side. Then cut out a large window in the top, cut a wooden frame out of furring strips and bolt on 1/2" hardware cloth.
For the step-by-step tutorial to make your own click HERE or HERE.


Now you've got a nice place for your chicks to grow up, safe from your cats, dogs and kids. Brooders should always be covered because even without the threat of cats, dogs or kids (or snakes that somehow manage to get into your garage - as we learned once the hard way).
Baby chicks learn to fly fairly quickly and you will have escapees in no time if you leave the top of your brooder uncovered.
A piece of cheesecloth over part of the top can also cut down on a lot of the dust created and help keep more of the warmth from the heat lamp inside.

Canvas puppy playpens make wonderful brooders as well. They are easy to clean, roomy and keep the chicks safe.
You can also easily bring it outside on nice days and remove the bottom so the chicks can feel some grass beneath their feet. I have brooded chicks both with the EcoGlow heater and a broody hen in my playpen and it works wonderfully.

Chick Brooder Bedding
Newspaper alone should not be used on the bottom of the brooder because it is too slippery, especially if it gets wet, and can cause spraddle leg in chicks. I use rubber shelf liner cut to fit the bottom of the brooder on top of a few layers of newspaper
The chicks can get a good grip on the shelf liner while the newspaper underneath absorbs spilled liquids. After a few days, once the chicks learn what is food and what is not, a thin layer of pine shavings can be added. The shelf liner is easily removed, rinsed off and replaced.
Some of you might be tempted to use sand and just scoop out the poop like a kitty litter box, but that is not recommended by poultry experts. Like adult chickens, baby chicks need grit to help grind up their food and they will be tempted to eat the sand.
That can lead them to end up with impacted crops, not to mention that would mean they would be eating sand with poop mixed in. Ick! Sand also can harbor e.coli.
For those reason pine shavings are recommended (never use CEDAR which can be toxic or lead to respiratory issues). Hemp bedding is also a good alternative which is less dusty than shavings. Or you can use aspen nesting pads.
An alternative is to put clumps of dirt and grass in the brooder. That makes a nice natural environment for your chicks.The bedding should be changed when it gets wet and/or dirty, but try to avoid changing the litter too often.
The chicks will build strong immune systems if you allow a bit of bacteria and some pathogens to grow in the brooder. I would say every other day or every third day should be sufficient.

Baby Chick Brooder Enrichment
Bored baby chicks are apt to start pecking at each other, act aggressively, etc. So I like to set up some boredom busters for my baby chicks.
Just for fun, I screwed two dowels into one corner of the box for the chicks to practice perching on. They love hopping up and balancing on the roosts.
You can also just add a few small branches to the brooder for the chicks to jump up on.


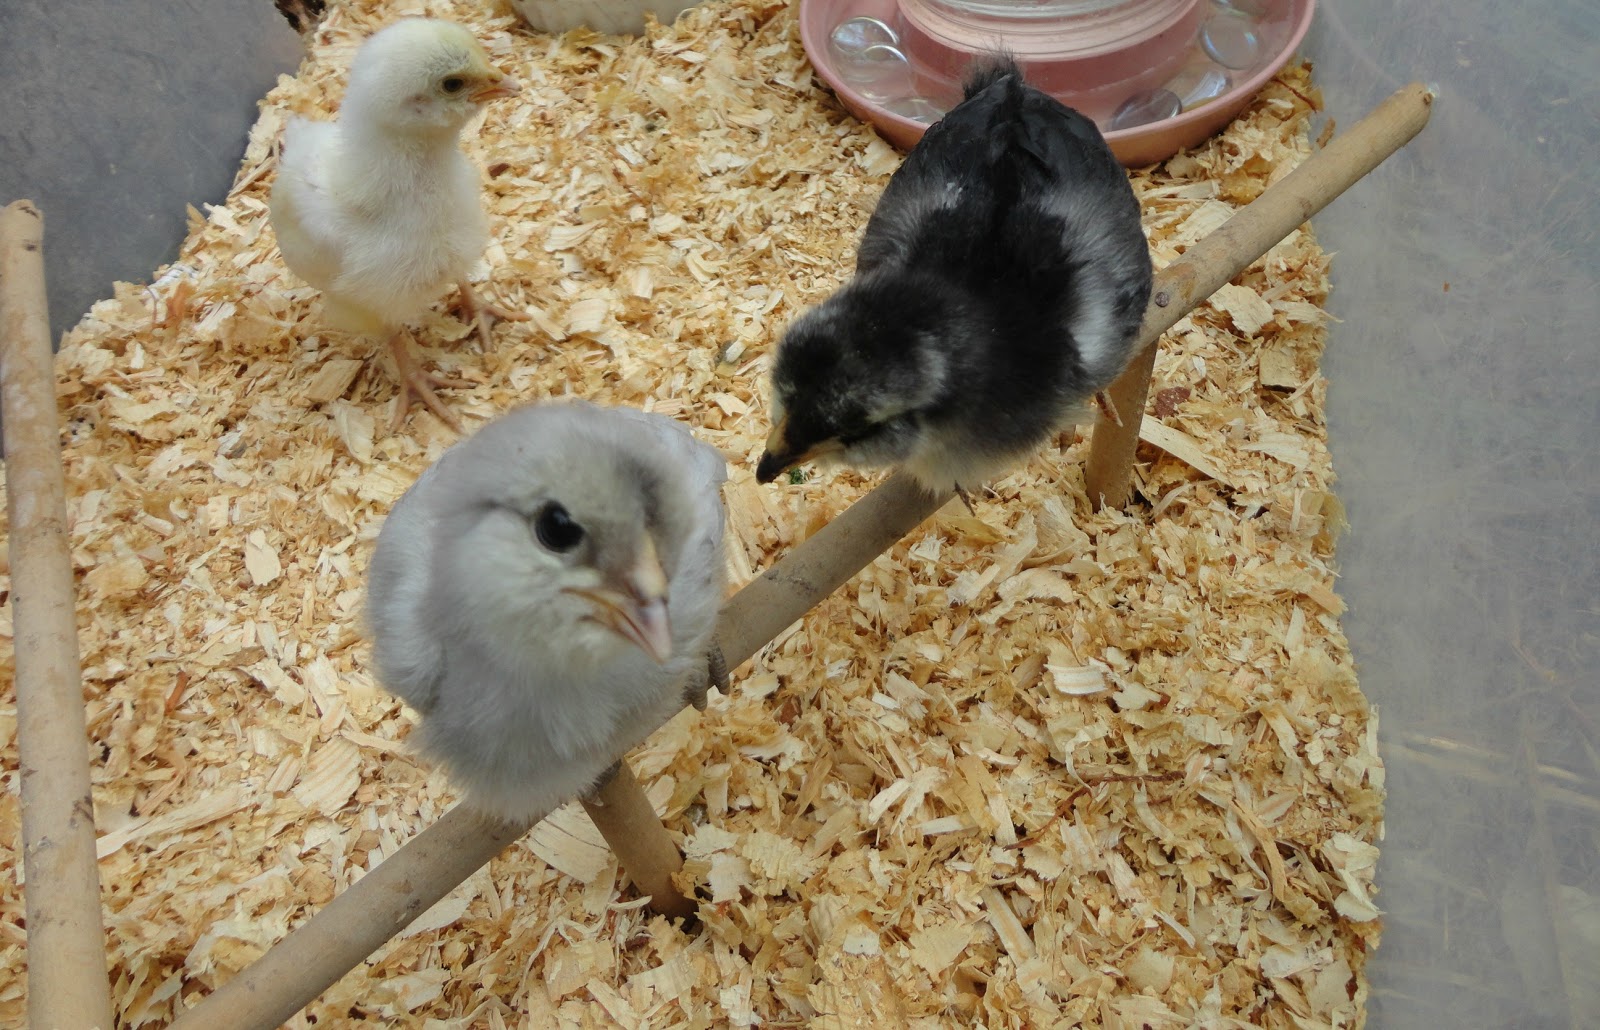
I also fill a small plastic container with fine dirt for the chicks to take dust baths in. The dirt also doubles as grit that the chicks need if you feed them anything other than chick feed.
The clumps of dirt and grass I mentioned earlier also give the chicks something to do. They will love nibbling at the ends of the grass and scratching through the dirt looking for seeds and bugs.

Chick Brooder Heat
A well-secured heat lamp will be necessary to keep the chicks warm. A red light bulb prevents picking and stresses chicks less than a white light will. I normally use a white light by day and then switch to a red light at night.
Be sure you always have a spare bulb...just in case. You don't want your bulb burning out, necessitating an emergency run out to try and find a new one in a hurry. It's very important to keep the brooder box temperature constant.
Chicks are extremely susceptible to being chilled. Often if they get cold, they won't be able to recover and won't make it. So a consistent temperature in the brooder is very important.
Chicks that get chilled are also more susceptible to pasty butt, a treatable, but potentially fatal, affliction. I'll go into that in more detail below.

Chick Brooder Temperature
The temperature in the brooder box should be 95 degrees the first week, and then reduced by 5 degrees per week. I have a small thermometer attached to one wall of the brooder down low at chick level so I can regulate the temperature by adjusting the height of the light.
(At six weeks old, if the daytime temperatures are close to where your brooder temperature is, around 65 degrees, the chicks can start spending time outside, at least during the day.)
NOTE: The best way to judge the temperature in your brooder is to watch the chicks to be sure they seem comfortable. If they are cold, they will be huddled under the light, peeping loudly.
If they are too hot, they might be holding their wings out or panting, and clustered as far from the heat as possible. Happy, well-regulated chicks will be scampering around the brooder, cheeping contentedly.

Heat Lamp Alternative
Brinsea sells a neat product called the EcoGlow. It replaces the heat lamp. The babies crawl underneath to sleep and then come out to play and eat, going back underneath when they get cold. It simulates being raising by a mother hen more than a heat lamp.
Not only does it not post a potential fire hazard like a heat lamp, it works really well and eliminates the need to be constantly adjusting the heat lamp. It also removes the possibility that the heat lamp bulb might burn out.
If you're only planning on raising baby chicks one time, it's probably not worth the investment, but if you are thinking about raising some chicks each spring, it's a great investment.
I actually like to use the heat lamp and the EcoGlow together. The heat lamp heats the whole area, but the chicks still seem to like to huddle under the EcoGlow - or take naps under it.

What About if You Lose Electricity?
If you've ever wondered what people did before the days of heat lamps and ready made brooders (or in case of a power outage nowadays!) according to Minnie Rose who wrote 'Recipe for Raising Chickens' and who raised chickens for 60 years before dying in 1975 at the age of 86:
"If a chicken for whatever reason couldn't or wouldn't care for newborn chicks, she would put the chicks in a box with shredded newspaper and a glass jar filled with hot water wrapped in aluminum foil to radiate heat, cover the box with an old wool sweater to keep the warmth inside, and place it near a heater."

Great information to keep in the back of your head if ever you lose power or your heat lamp bulb burns out and you can't get another one right away (although I always have a spare in the house just in case).
Chick Arrival Day!
On the day the chicks are due to arrive, call your post office early in the morning and keep calling until the truck has arrived with your chicks. You will want to be there to pick them up as soon as they are unloaded.
Even though the post office is very close to our house, I like to bring a small container of room temperature water with some electrolytes in it (you can also give them some plain Pedialyte), so I can give my chicks a quick drink as soon as I open the box. (It's a good idea to open the box at the post office to make sure the chicks arrived safely - also, they're SO cute I can never wait until I get home to take a peek at them!)
Before you leave the house, you'll want to:
- Get your brooder box set up in a quiet area of the house.
- Add some soft bedding.
- Turn on the heat lamp (or plug in your EcoGlow heater) before you leave the house to pick up the chicks so the brooder is up to temperature when you return.
- Fill the feeder with chick feed,
- Fill the waterer with water so it can warm up room temperature by the time you get back. Cold water can chill the chicks and actually possibly send them into shock, so you want to always give them room temperature water.
- Be sure to add a few marbles or small stones to the water reservoir. Baby chicks are very top heavy and can easily topple over and drown in even the shallowest of water. So putting something in the water to prevent that for the first few days is important.
- A warmed eye pillow (like those filled with rice that can be microwaved and heated up) or one of those wrist cushions for the computer is also a good thing to bring with you to pop into the box to help keep the chicks warm for the ride home. The baby chicks also seem to like one in the brooder as a sort of "security blanket".

Check Baby Chicks for Pasty Butt
Once you get your chicks home, check each chick one by one for pasty butt. You will see dried poop clinging to their vent or the fluff around the vent. If you do see any dried feces, carefully clean off any stuck-on poop with a q-tip moistened with warm water or vegetable oil.Pasty butt literally stops up the chick so they can't excrete their poop and it can be potentially fatal. It can be caused by stress or extreme temperature changes that are often endured during the travel from the hatchery.
This is a nice clean butt. Exactly what you want to see.

Continue to check butts for the first few days. Feeding the chicks cornmeal or ground raw oatmeal sprinkled on top of their feed can help clear up pasty butt.
Be sure and provide chick-sized grit if you feed your chicks anything other than chick feed. Chicks are susceptible to diarrhea, so be sure to keep the bedding dry and change out wet litter that can harbor bacteria.

Water for Baby Chicks
Dip each chick's beak into the water as you take them out of the shipping box and make sure each takes a drink before setting them in the brooder to explore and rest from their trip.

There should be clean fresh water and dry feed in the brooder box at all times. Chicks are messy so check often to make sure they haven't tipped over their water or feed containers.
You can give them a much-needed boost in their water of one of the additives mentioned above, or add some sugar or honey to their water for the first 24 hours.

Chicks need constant access to fresh, clean water. It can seem an impossible task with baby chicks, but do your best to keep the water free of shavings and poop.
It helps to raise the waterer and feeder up off the floor a bit with a piece of wood or sturdy ramekin or souffle dish turned upside down, so fewer shavings get in them.
I usually start off with small shallow dishes and then switch to the regular chick waterer after a few days.
It's also very important to be sure to put a few small stones or marbles in the water dish so the chicks don't drown in it. Chicks are also attracted to shiny objects in their water and will be more likely to take a drink, so that's another reason to use the marbles.
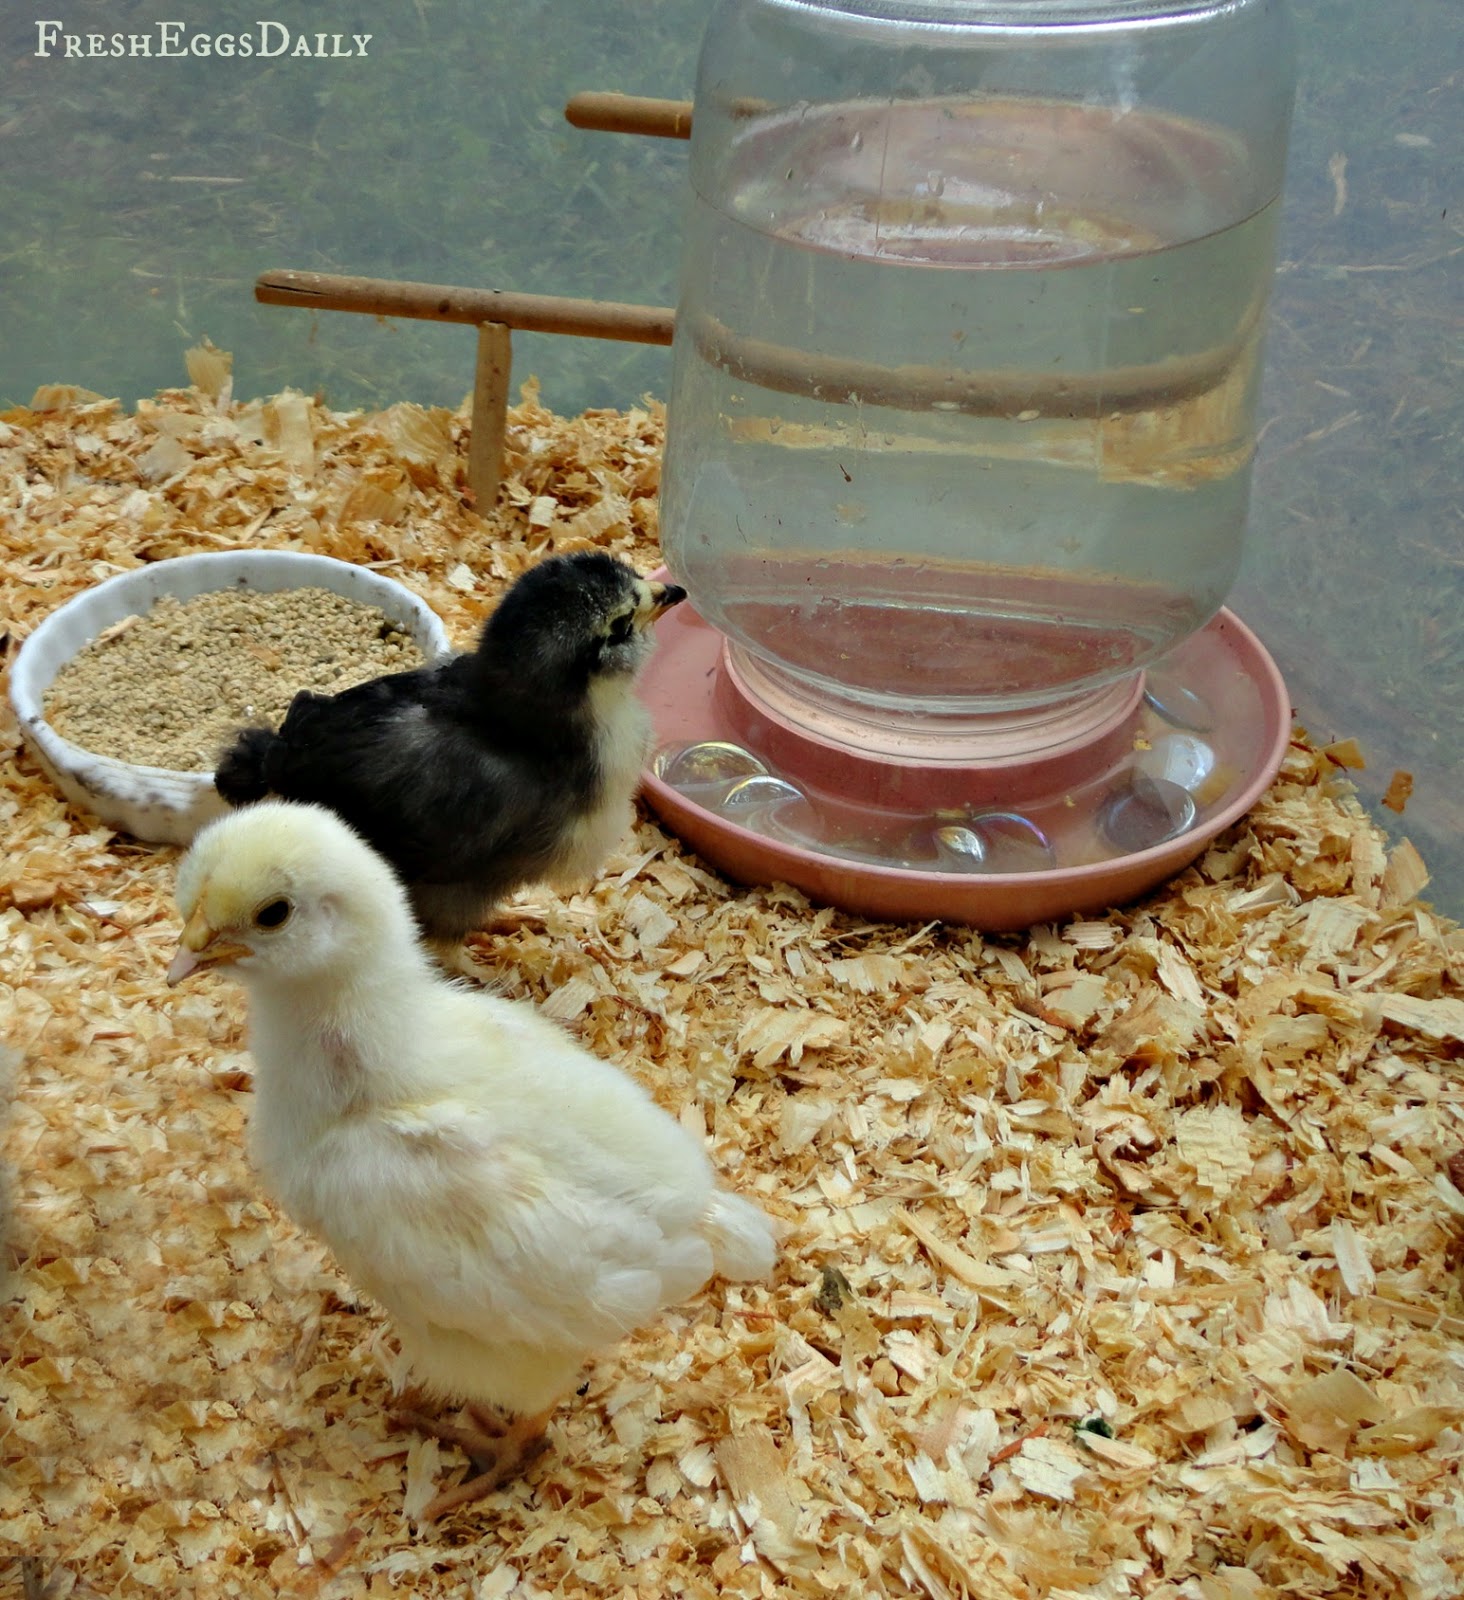
A word of caution. The traditional metal or plastic mason jar feeders and waterers tend to tip over, are hard to refill and clean, and I have had chicks get stuck behind them when I put them in the corners....so be vigilant when using them and be sure to check on your chicks often.
.JPG)
Feed for Baby Chicks
Chicks will naturally eat whatever is at their feet, so using a paper plate or shallow dish with some feed on it works well at first when you bring your chicks home, allowing the chicks to walk around and peck at the feed.
Of course, they also will poop all over the plate, so be sure to check it often and replace it when necessary, and after a few days once they recognize what is food and what's not, you can switch to a regular feeder.
Tapping your fingernail on the ground near the feed will also help the chicks start to understand that's what they eat. That mimics what a mother hen does with her chicks.

An easy homemade feeder that I found worked better than the traditional mason jar feeder is the bottom of a plastic egg carton. The chicks eagerly line up to eat from it. You can just use a regular cardboard egg carton and toss it out when it gets wet or dirty.

Should I Feed Medicated Feed?
You can choose to give your chicks medicated feed for about the first eight weeks.
The feed will give them immunity to coccidiosis. After that, they should be strong enough to start to built up a natural immunity, so you will switch them to starter/grower feed which is unmedicated.
Coccidiosis is the number one cause of death in chicks, so as an added precaution you can feed the medicated feed to new chicks. However, I prefer not to feed medicated feed. It's completely a personal choice.


If you decide not to feed the medicated chick feed, be sure to be on the lookout for any signs of red-tinted or bloody stools, lethargy etc. It could be coccidia, a highly infectious, potentially fatal, parasitic disease of the intestinal tract.
There are commercial medications, such as Sulmet, that can be administered if coccidia is diagnosed, (although I don't recommend ever administering Sulmet due to its lack of withdrawal period - meaning you should never eat eggs from that chicken again.)
There are also holistic remedies available such as Kochi Free. But as always, prevention is far better than having to treat and try the illness.
Baby Chick Supplements
I believe in adding some natural supplements to my baby chicks' diet right from day one. I think they help build strong immune systems and result in healthier chicks.
A bit of apple cider vinegar, such as Bragg, splashed in their water and some probiotic powder in their feed can also help combat intestinal problems in chicks and aids in digestive health. Probiotics are thought to guard against coccidia as well. >Fresh minced garlic or garlic powder with brewers yeast will give their immune systems a nice boost.
Fresh Eggs Daily Natural Poultry Feed Supplements
Advice from Harvey Ussery from a 2013 article he wrote "mix of half a gallon of water with a quarter to a half cup of raw honey, a couple of tablespoons of raw apple cider vinegar, and a couple of cloves of raw garlic squeezed through a garlic press. After the first 24 hours, I replace the honey mix with pure water."
Can Baby Chicks Eat Egg Yolk?
In a pinch if you run out of chick starter, you can mash up hard-boiled or scrambled eggs for your brooder babies? Chicks on farms in days gone by were often fed eggs before the advent of commercial chick feed. They also happen to love scrambled eggs as a treat.
Recent studies have shown that feeding egg yolk to baby chicks can help to improve gut health and build strong immune systems early in the chicks' lives. Chicks gastro-intestinal systems aren't well formed yet and they are very susceptible to intestinal infections.
Egg yolk has been shown to act as an anti-inflammatory, result in reduced mortality levels, and act as a natural antibiotic and anticoccidial. The studies were done on broiler chicks, but thought to apply to layers and dual purpose breeds as well.

Baby Chick Treats
Although I do want my baby chicks' diet to be predominantly their chick feed, from the start I also give my chicks clumps of grass (dirt and roots attached) and weeds (but nothing that has been treated with any pesticide, herbicide or other chemicals), soft cooked oatmeal, earthworms, dried grubs, and scrambled eggs, as I mentioned above, as treats.
The dirt does double duty as it acts as the necessary grit they need to help grind up the fibrous grass. (If you feed chicks anything other than chick feed, they NEED chick-sized grit or dirt to help digest)

Chickweed is a particular favorite ! Go figure.

Getting your Baby Chicks Outside
At about 8 weeks, weather dependent, I will start letting the little ones outside in an enclosed pen or puppy playpen on nice sunny days, but bring them back into the house to sleep, until the temperature in the brooder box is the same as the overnight ambient temperature outside.
They love being outside on the grass and the sunlight and exercise is so good for them! Plus it gives you a chance to clean out their brooder box, which is likely getting pretty crowded by now!
At this point, I hope you have given some thought to your chicken coop and a nice safe, predator-proof run area because your babies are big enough to start living outside full time.
And a warning: If you also have older hens already, here's important information about integrating pullets into your established flock. You can't just toss the chicks in with your adult chickens, they need to be introduced slowly.

Basic Baby Chick Care Summary
Raising chicks is a wonderful experience and I hope that this has given you some helpful tips to make it easier.
I find that the chickens I have raised from day old are much friendlier and more affectionate than the few that I have gotten as pullets. And there is nothing cuter than a baby chick!

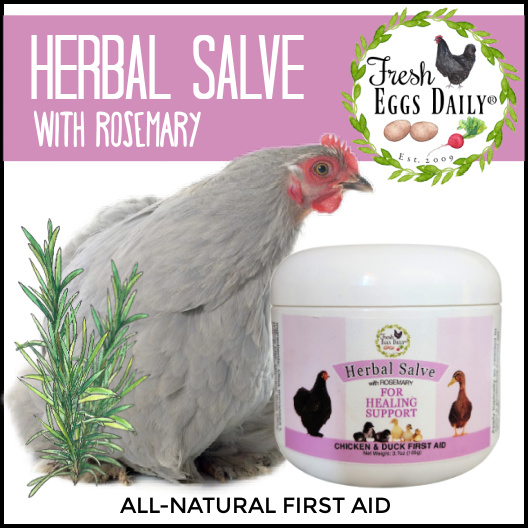
Oh, and one last thing. Sometimes, despite your best efforts, things go wrong, so here's a guide to treating the most common chick issues naturally ---> READ HERE